Introduction (#)

Minimalin - Multipurpose WooCommerce WordPress Theme


  • Exclusively by: Marino-Themes
  • E-mail: marino.themes@gmail.com

Minimalin – Multipurpose WooCommerce WordPress Theme is a sleek and modern eCommerce theme designed for online stores. With its clean, minimalist design and fully responsive layout, Minimalin offers a seamless shopping experience across all devices. Perfect for any online business, this powerful WooCommerce theme provides a smart and stylish way to showcase and sell products effortlessly.

Further, if you need any kind of help then we are ready to provide full support. Please, contact with us: marino.themes@gmail.com

Upload and Activation (#)

  • There are 2 ways to upload the theme. Please fallow the given steps.

    Via Dashboard

    1. Navigate to Appearance → Themes in your WordPress admin dashboard.
    2. Click the Add New button at the top of the page then go for the Theme Upload option.
    3. For the file upload, pick Theme Files / minimalin.zip in the theme package downloaded from ThemeForest and click Install Now.
    4. Click Activate once the upload has finished and you're ready for the next step: Installing the Plugins.

      Theme upload

    Via FTP

    1. Extract the theme package downloaded from ThemeForest minimalin-full-wp.zip open the folder.
    2. Open any FTP aplication like Filezilla navigate to the directory of the Theme.
    3. For the file upload, pick Theme Files / minimalin.zip in the theme package downloaded from ThemeForest.
    4. Navigate to Appearance → Themes in your WordPress admin dashboard.
    5. Click Activate once the upload has finished and you're ready for the next step: Installing the Plugins.

Dummy Content Import (#)

  • One Click Installation

    Minimalin comes with one click demo installation exactly like the original demo. You just need to verify that you have set the

    • Memory Limit: 256 MB
    • Max. Execution Time: 0 (Unlimited)
    • Max. Post Size: 256 MB

    After theme activate, a new page appear. If not appear, then goto Appearance → Marino Themes Import.

    1. In your Wordpress admin dashboard, navigate to Appearance → Theme Options → Utility.
    2. From the page you can see the available options, click Import Demo Settings
    3. Wait until you have message of have fun.


Headers Settings/Editing (#)

Dashboard → appearance → Minimalin options → Headers Settings → Select Header that you want to edit

Header Change of Every Page (#)

  • Open your Page → Simple “Edit” your page → Scroll Down to the bottom and you’ll see header settings.
  • Click on “Default” and change the Header that you want in your page.

Mobile Responsive Sidebar Settings (#)

Dashboard → appearance → Minimalin options → Mobile Sidebar Settings

Sidebar Change Of Every Page (#)

  • Open your Page → Simple “Edit” your page → Scroll Down to the bottom and you’ll see sidebar settings.
  • From here you can enter the sidebar if you want in you page.
  • Also you can select Left/Right Sidebar Layout or Full width layout from here.

Homepage and Blog Setting (#)

To setup the home page, in your WordPress admin panel, navigate to Settings → Reading.

Assuming you already have a page named "Front Page", for the Front page display, select "Home" and choose your "Homepage one" page as the home page. This is what you should be seeing on your screen from left side.

To setup the blog page, in your WordPress admin panel, navigate to Settings → Reading.

Assuming you already have a page named "Blog", for the Front page display, select "A static page" and choose your "Blog" page as the Posts page. This is what you should be seeing on your screen from left side.

Blog writing new posts (#)

To start adding posts to your blog, navigate to Posts → Add New.

  1. Start filling in the blanks: enter your post title, write your actual body content in the main post editing box below it.
  2. As needed, select a category, add tags, and make other selections from the sections below the post.
  3. When your post is ready, click Publish.

Deep Diving: Since creating and editing pages requires basic WordPress knowledge, we won't cover it in detail. If you're new to WordPress, you may find the following resources valuable: How to Create a new Post How to Edit and Existing Post Using Categories and Tags

Blog Pages Settings (Archive, Author, Search, Category, Tag Pages) (#)

Dashboard → appearance → Minimalin options → Blog Page Settings

Blog Single Post Settings (#)

Dashboard → appearance → Minimalin options → Blog Page Settings → Single Post Settings

Banner Settings Of Every Page (#)

  • Open your Page → Simple “Edit” your page → Scroll Down to the bottom and you’ll see banner settings.
  • You can change Banner/Header Title from here also you can upload banner image, if you want.

404 Page Settings (#)

Dashboard → appearance → Minimalin options → Blog Page Settings → 404 Page Settings

Add New product (#)

To start adding products to your store, navigate to Products → Add New.

  1. Start filling in the blanks: enter your product title, write your actual body content in the main post editing box below it.
  2. As needed, select a category, and make other selections from the sections below the product.
  3. When your product is ready, click Publish.
  4. Deep Diving: Since creating and editing pages requires basic WordPress knowledge, we won't cover it in detail. If you're new to WordPress, you may find the following resources valuable: How to Create a new product How to Edit and Existing Post Using Categories and Tags.

  • Dashboard → Products → Add New
  • Dashboard → Products → ‘Edit’ the product that you want to edit

Theme Options (#)

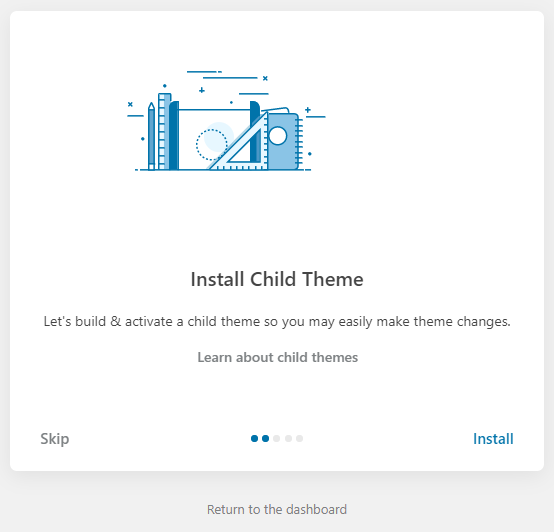
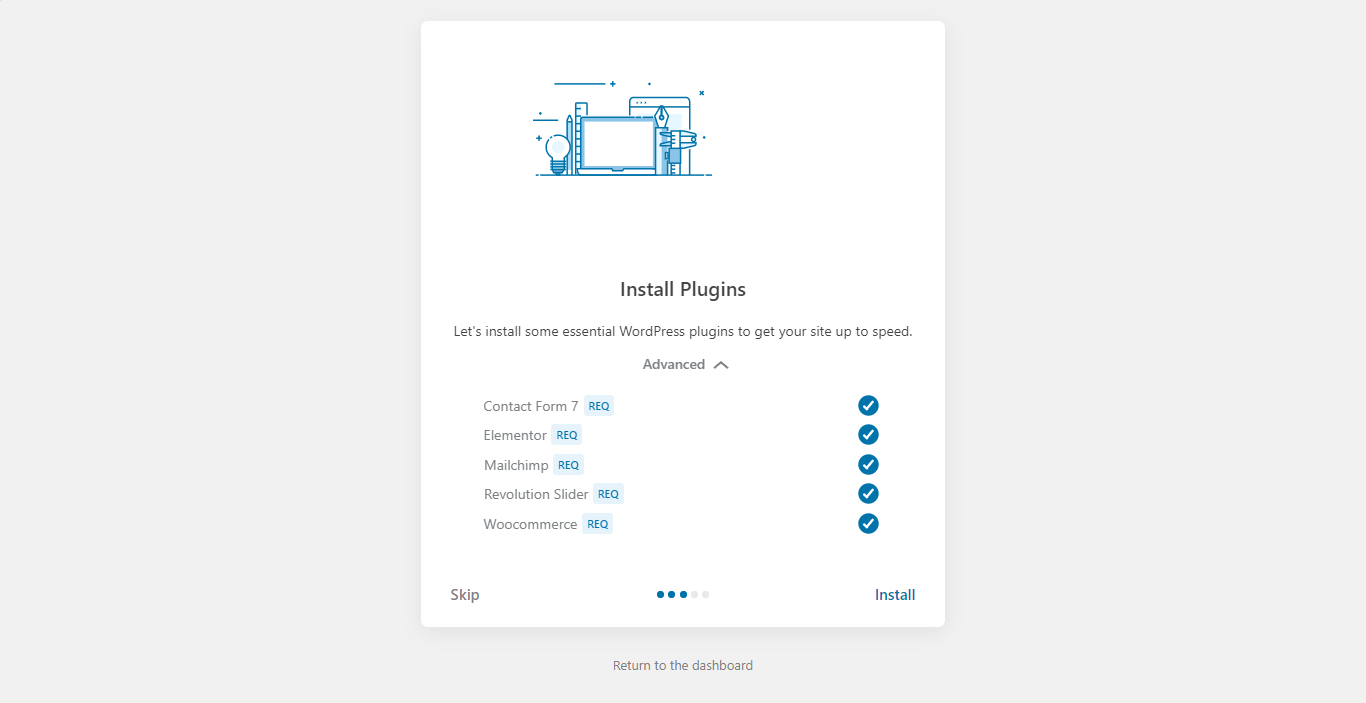
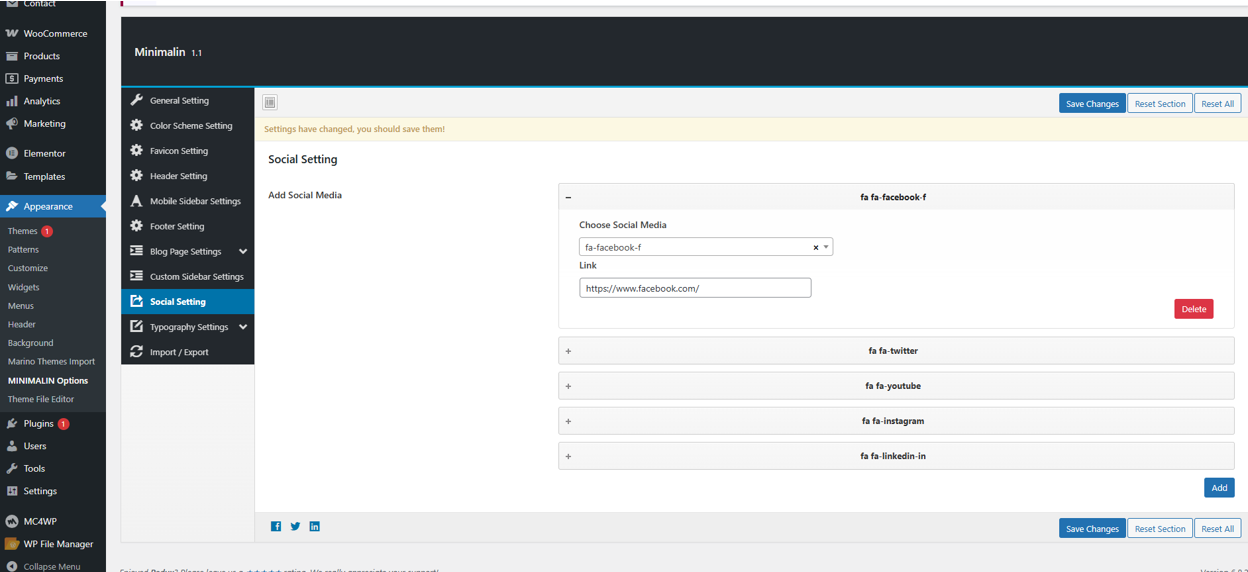
We listed below all Minimalin options. You can learn how we used Minimalin WordPress theme options in below;

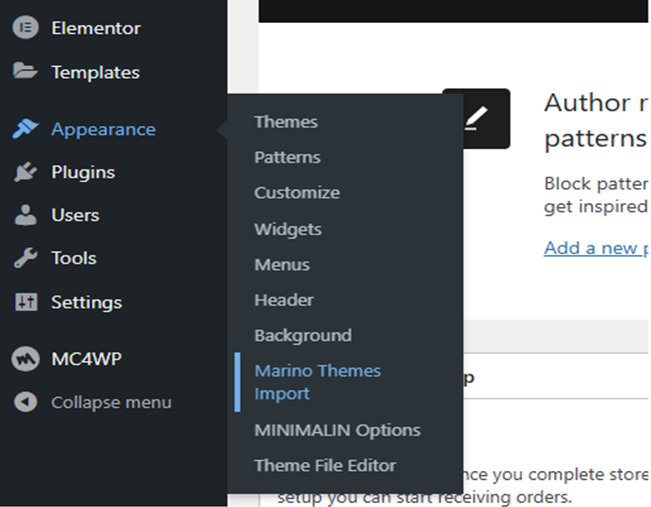
Go to Appearance > Minimalin Options

In 
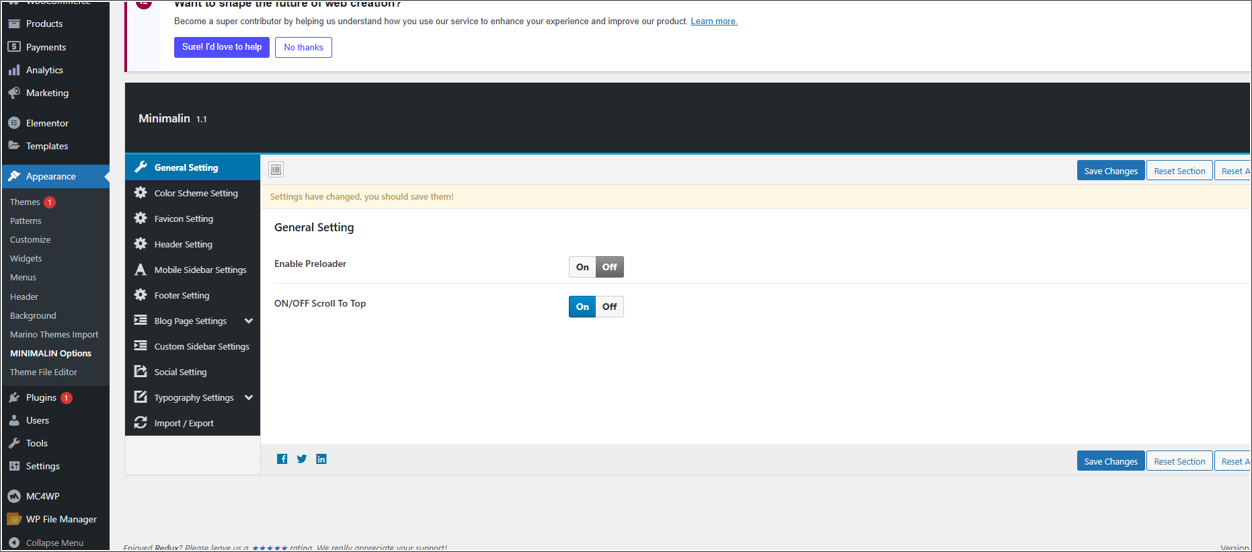
General Settings Panel; In general setting you will find Toggle button for disable/enable the preloader.
In 
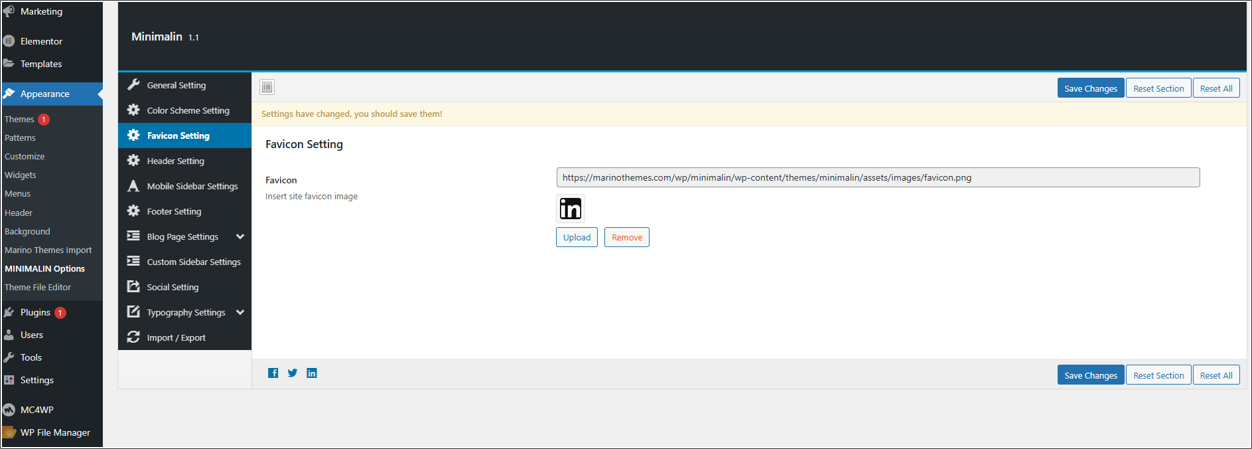
Logo Settings Panel; In Logo setting you will find uploader field for Favicon and logo image also the field for width and height of logo.
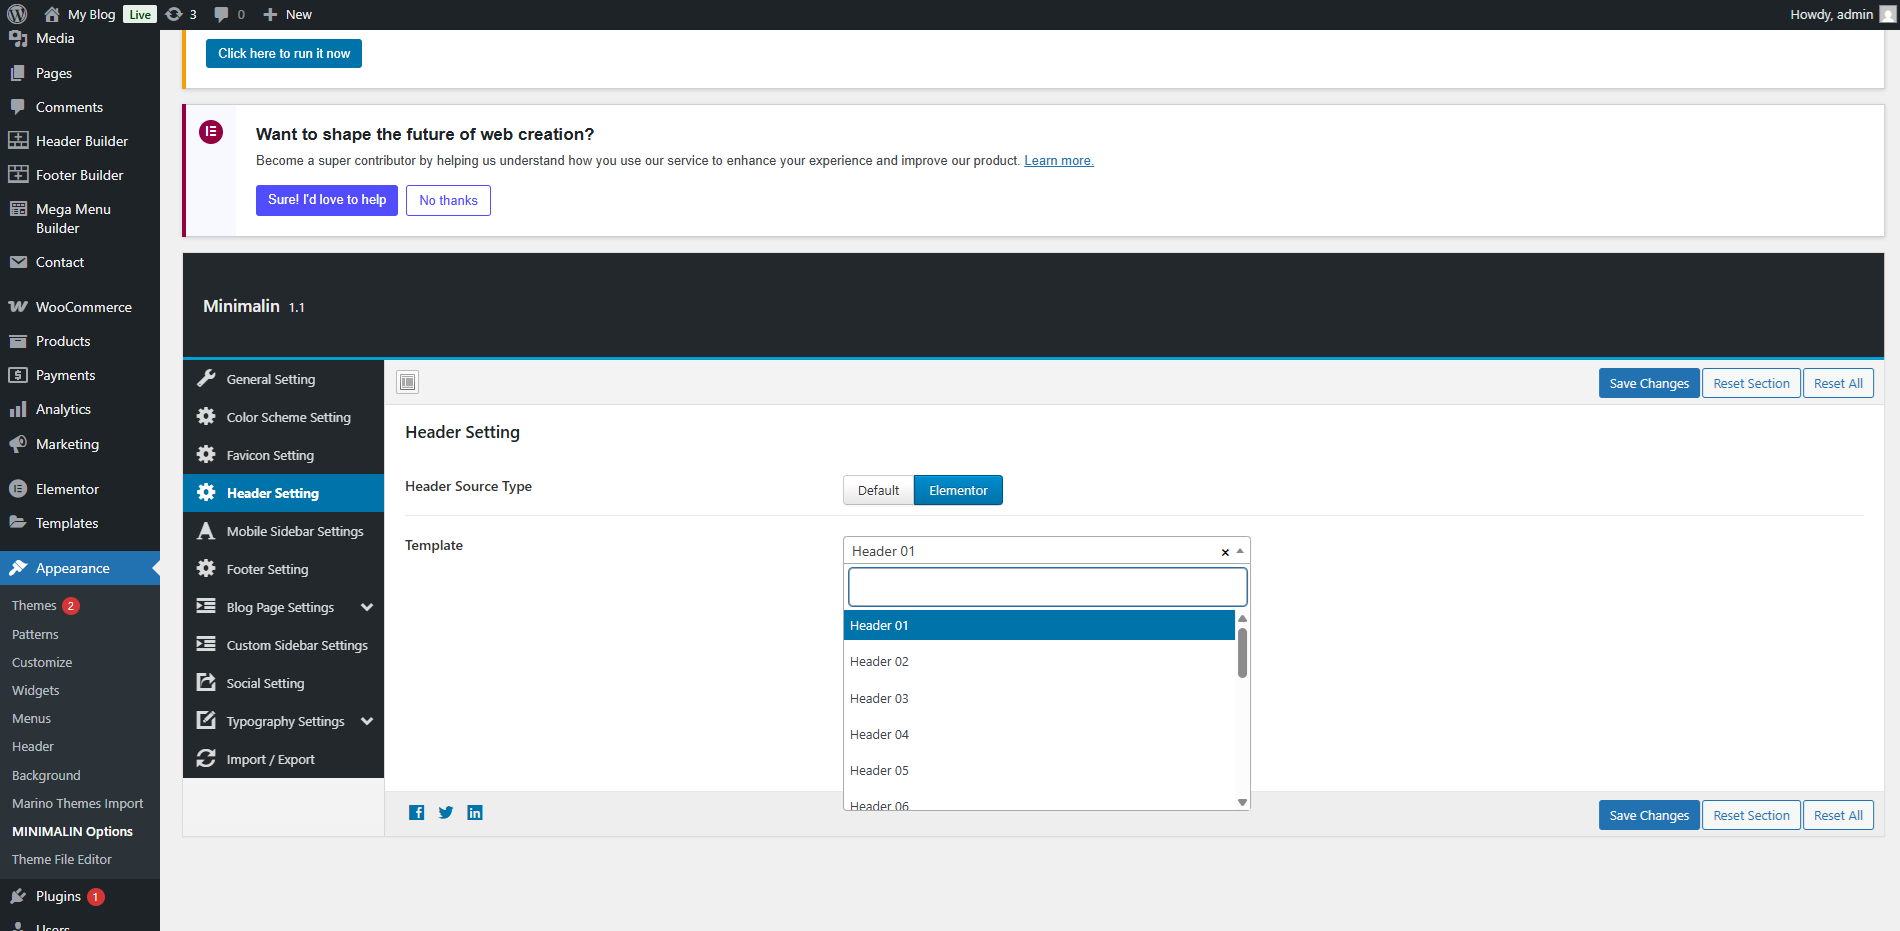
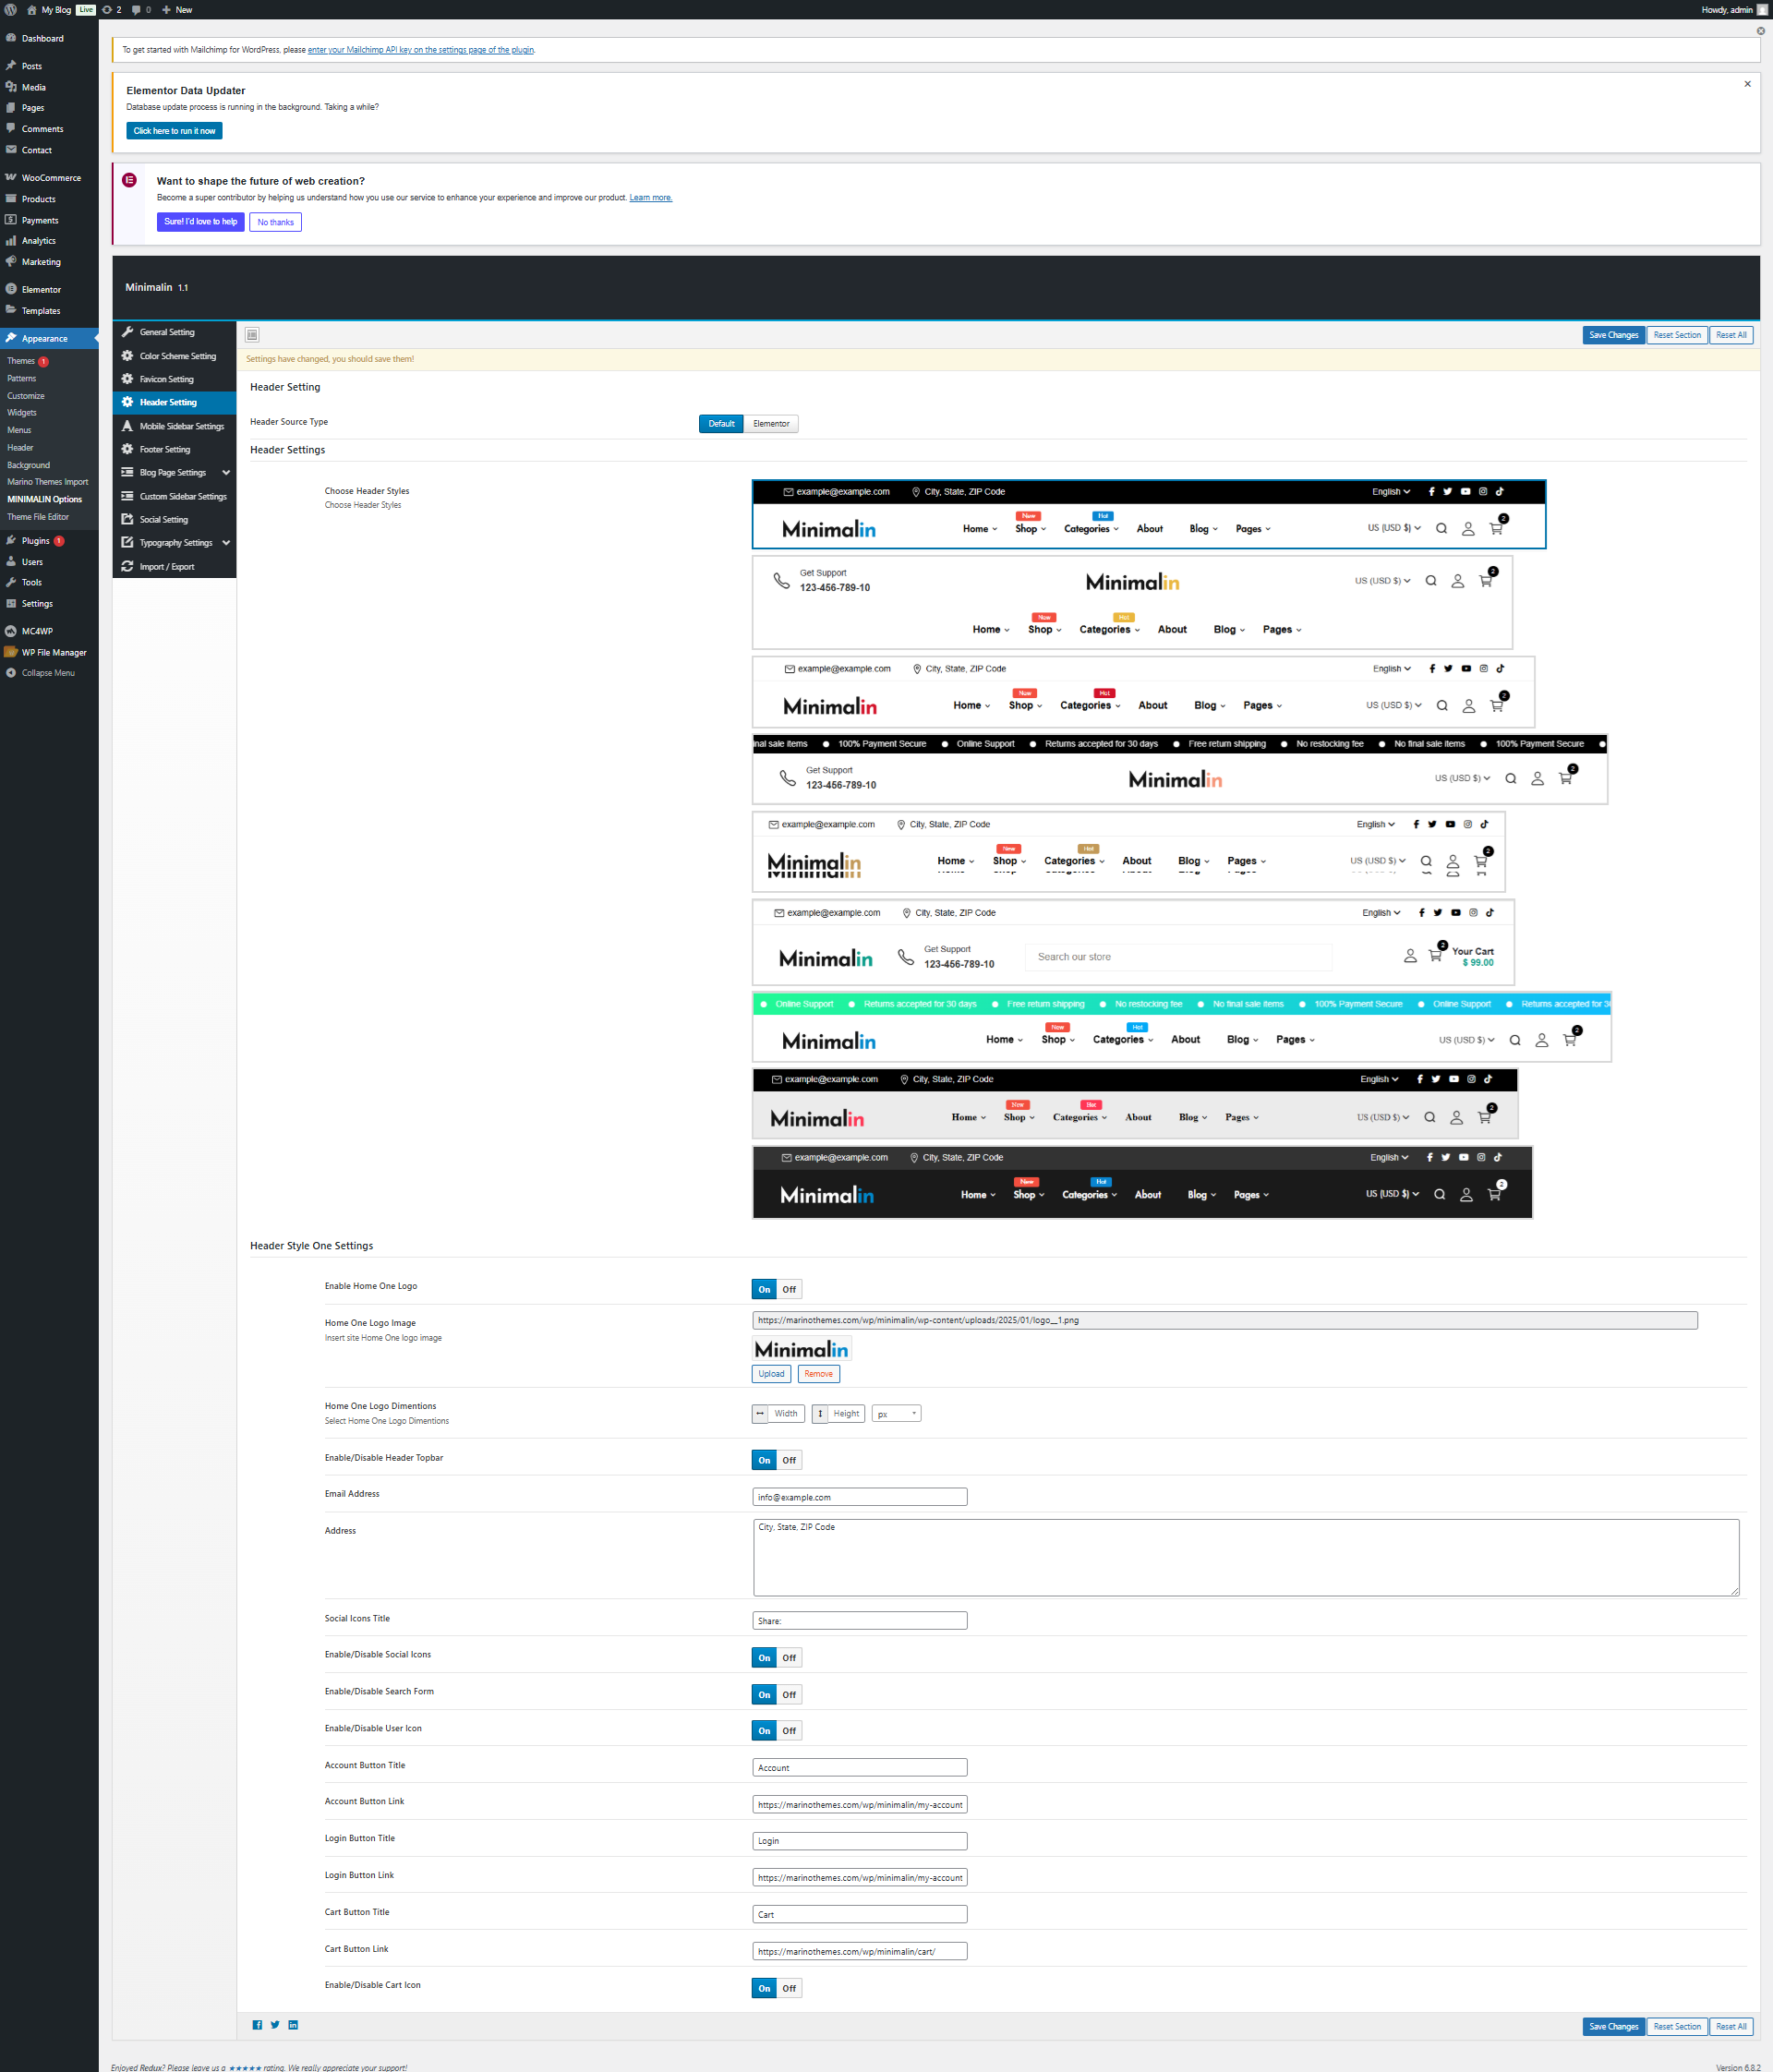
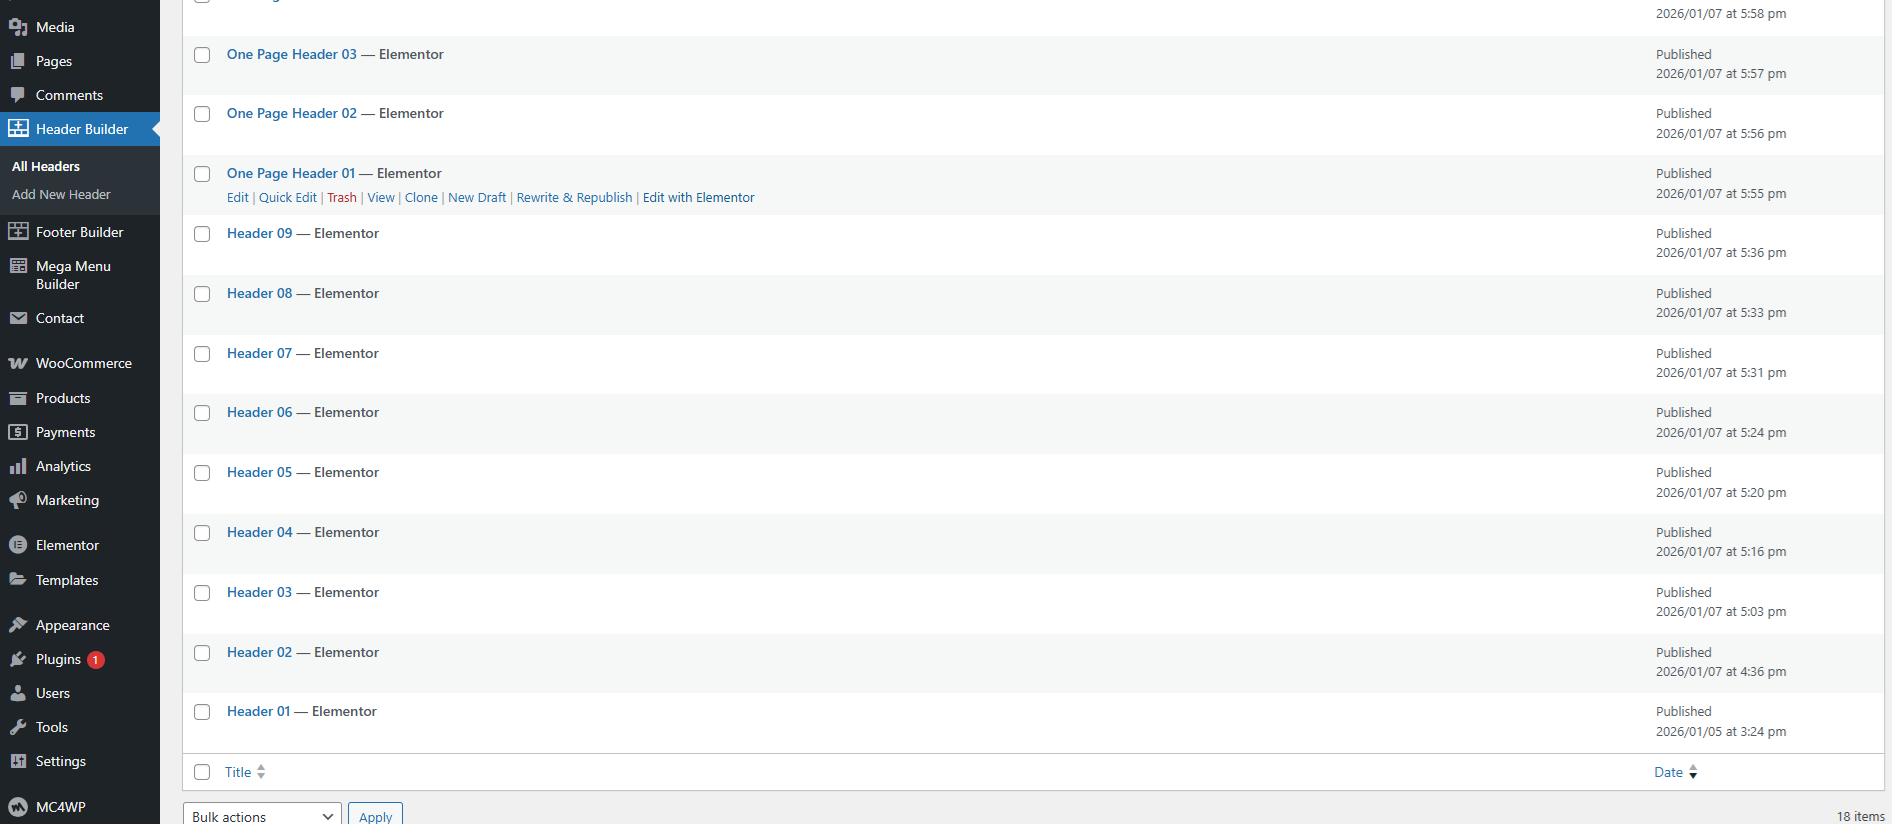
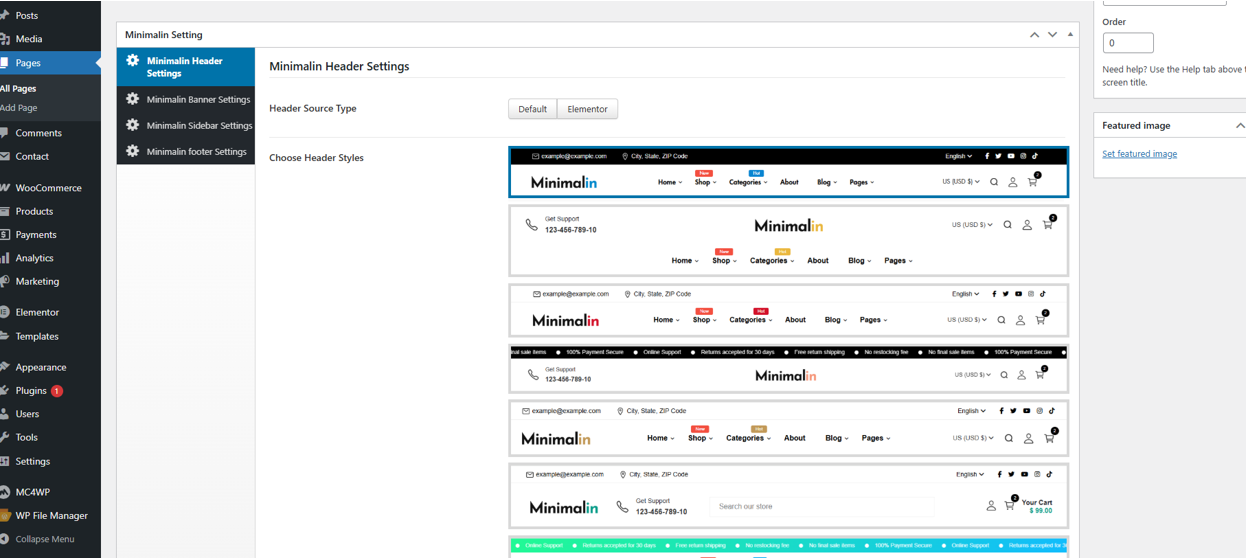
In Header Settings Panel; In Header setting you will find Header Styles and his option please select which one you want to use.
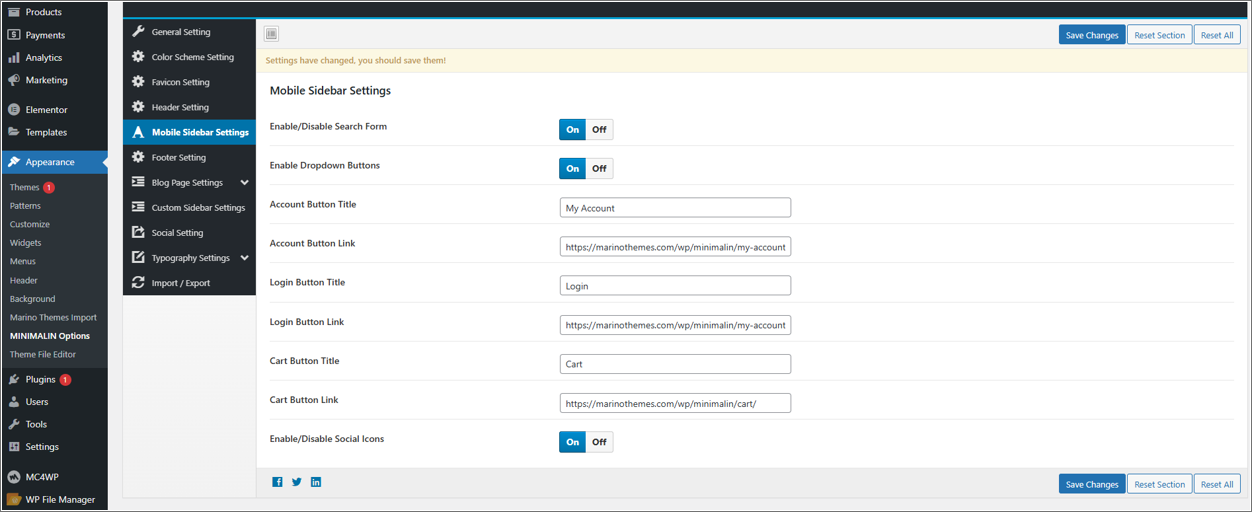
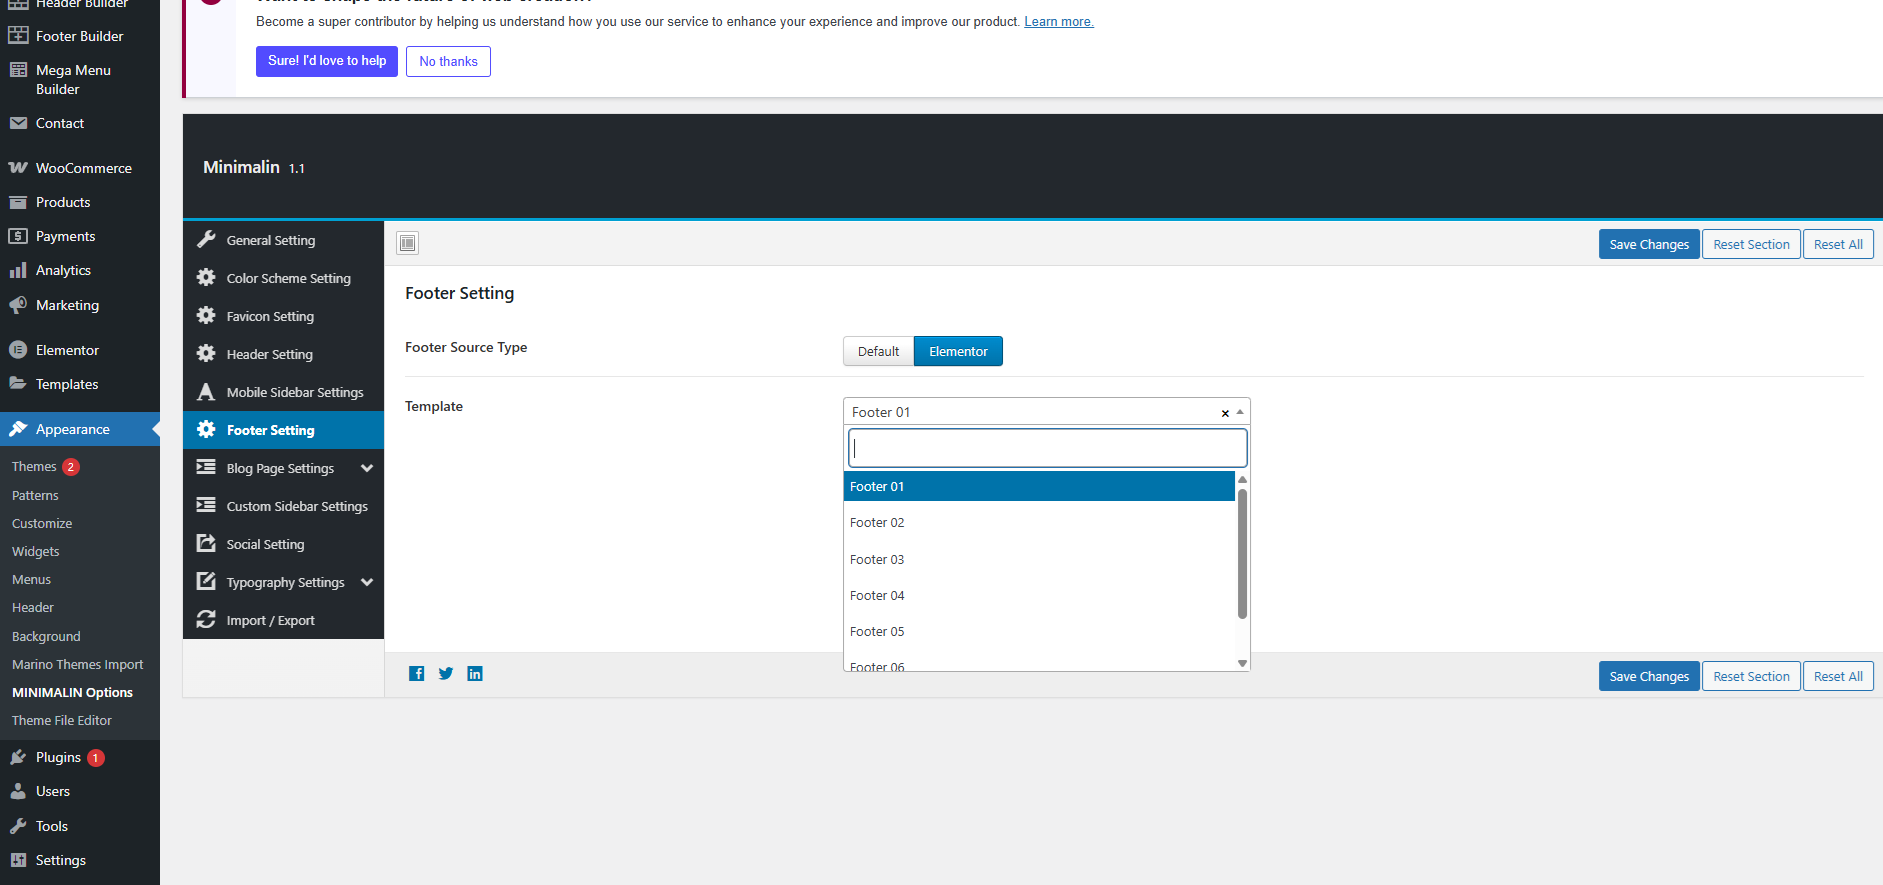
In 
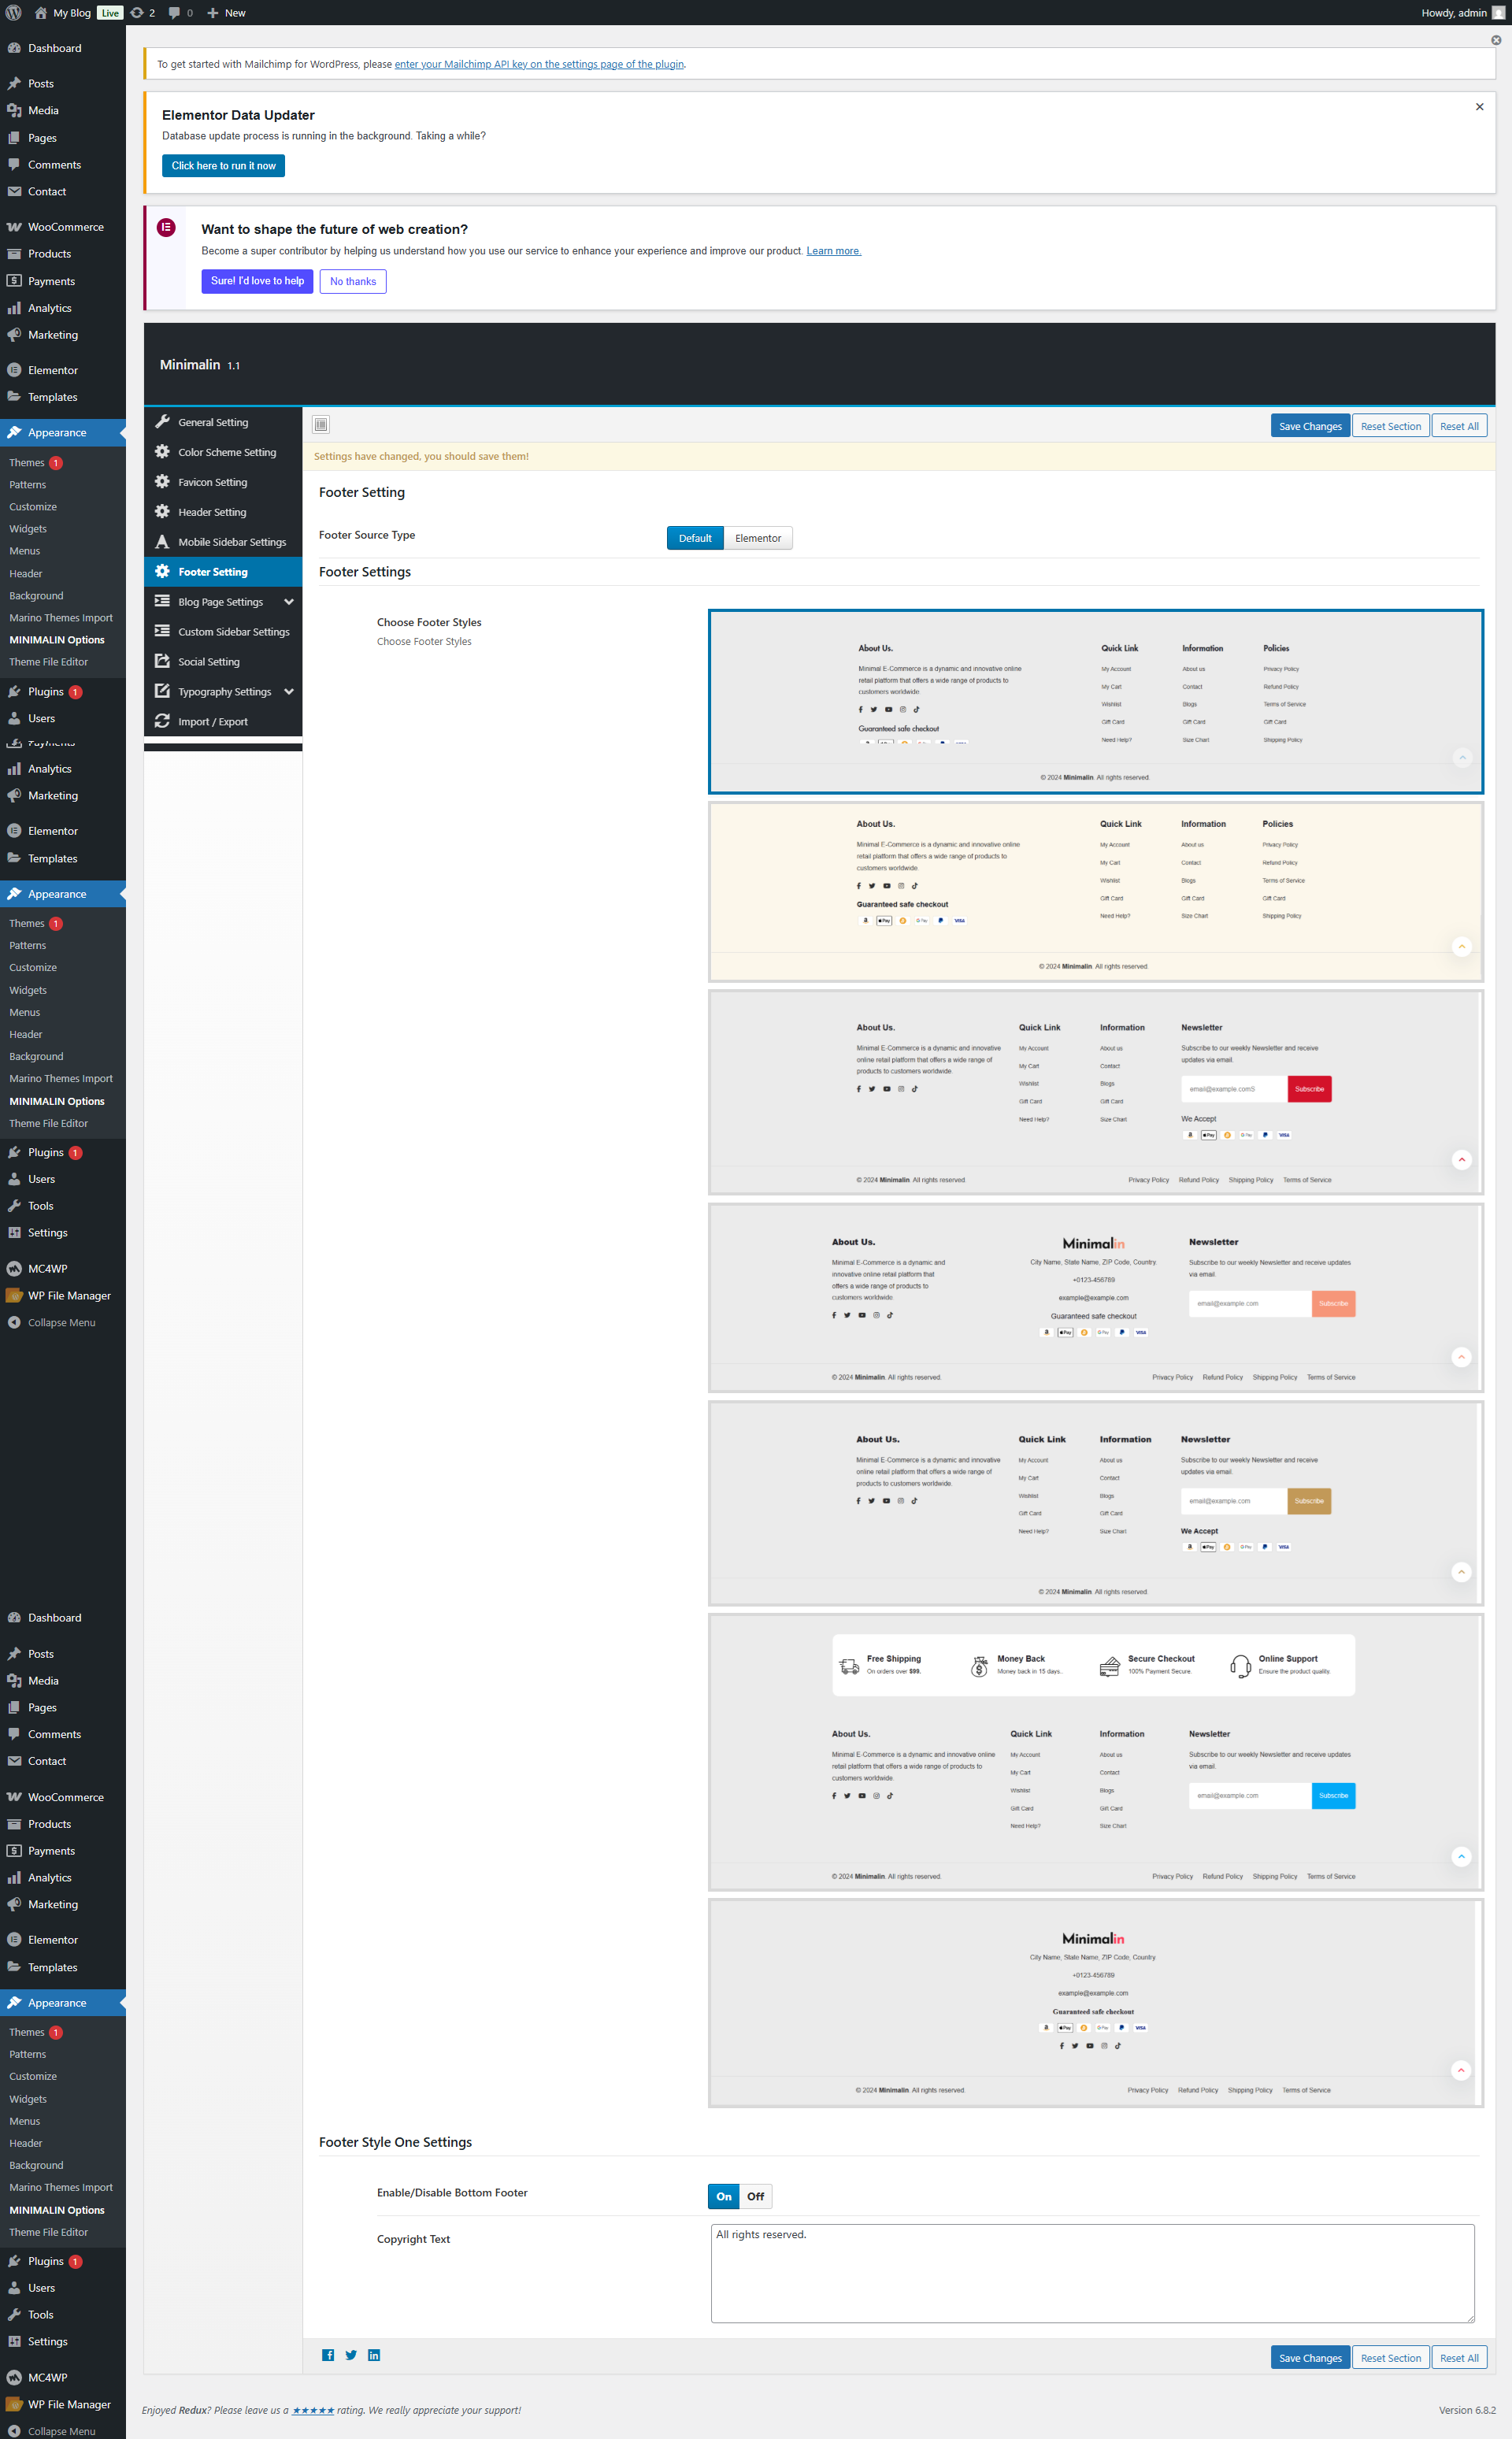
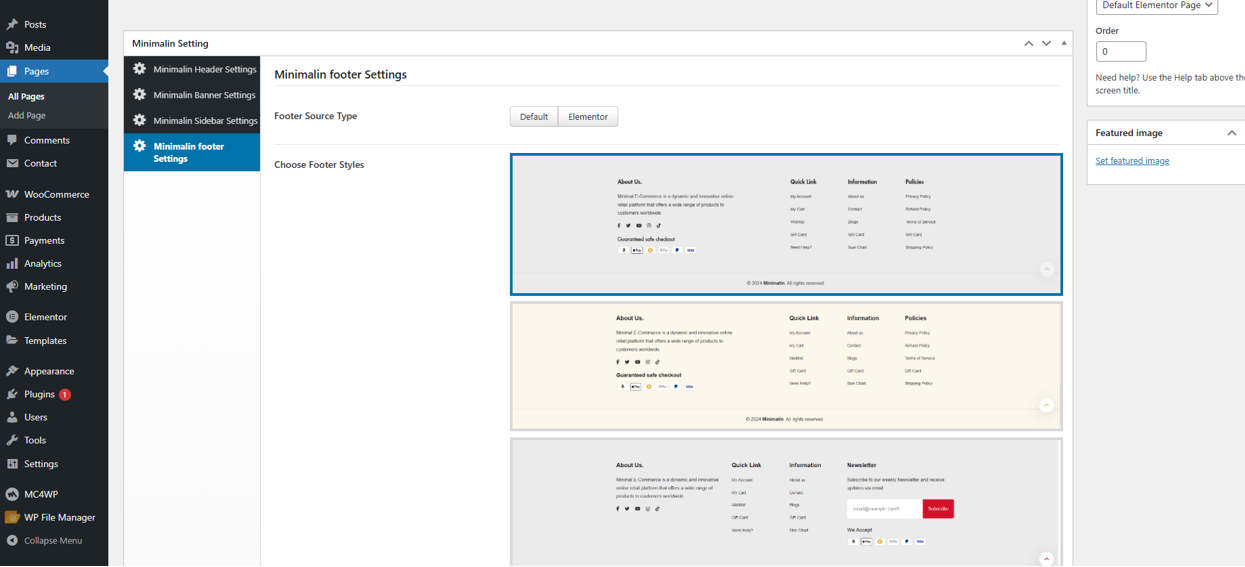
Footer Settings Panel; In footer setting you will find Select field for footer styles, toggle button for disable/enable the Social Icons and the Copyright Text and Analytics / Scripts area.
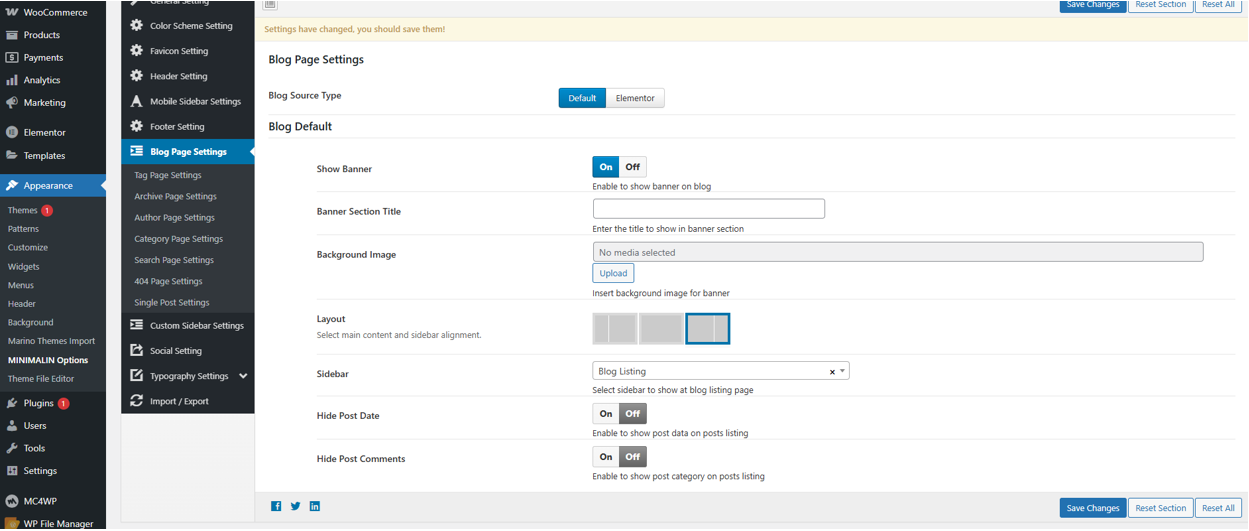
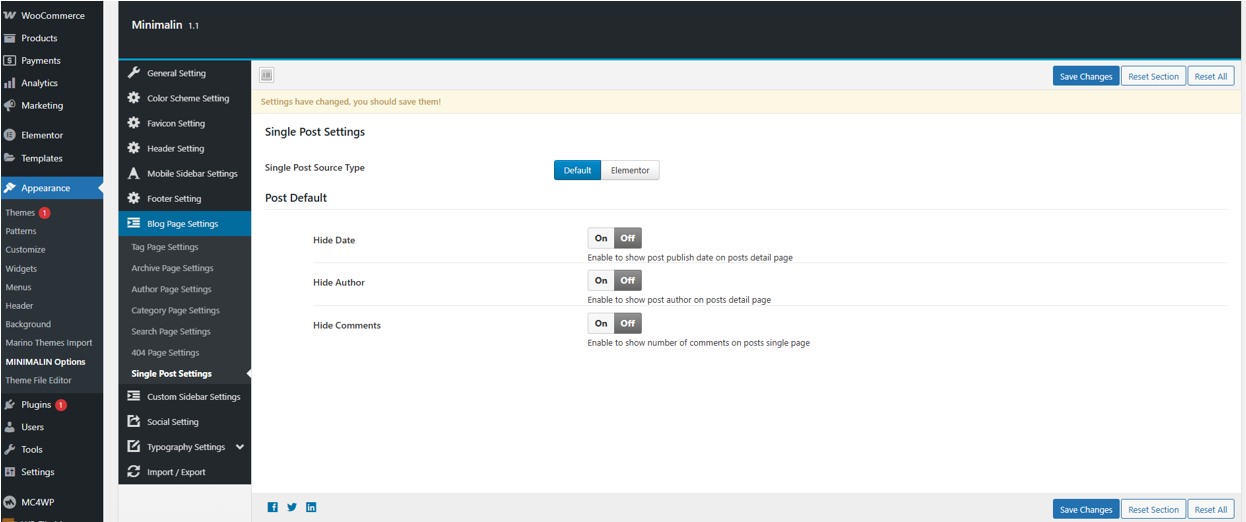
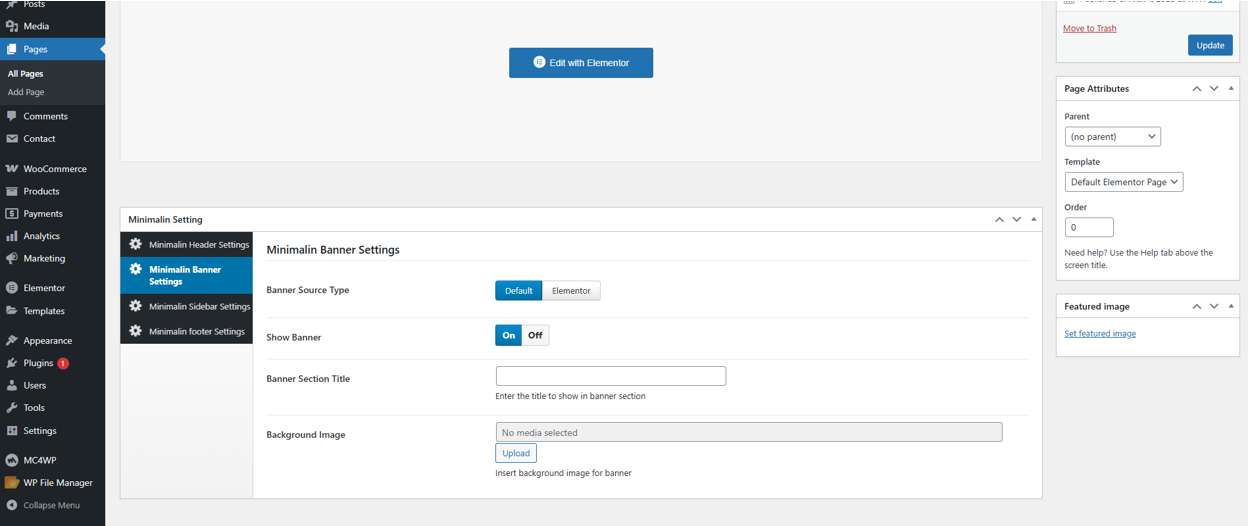
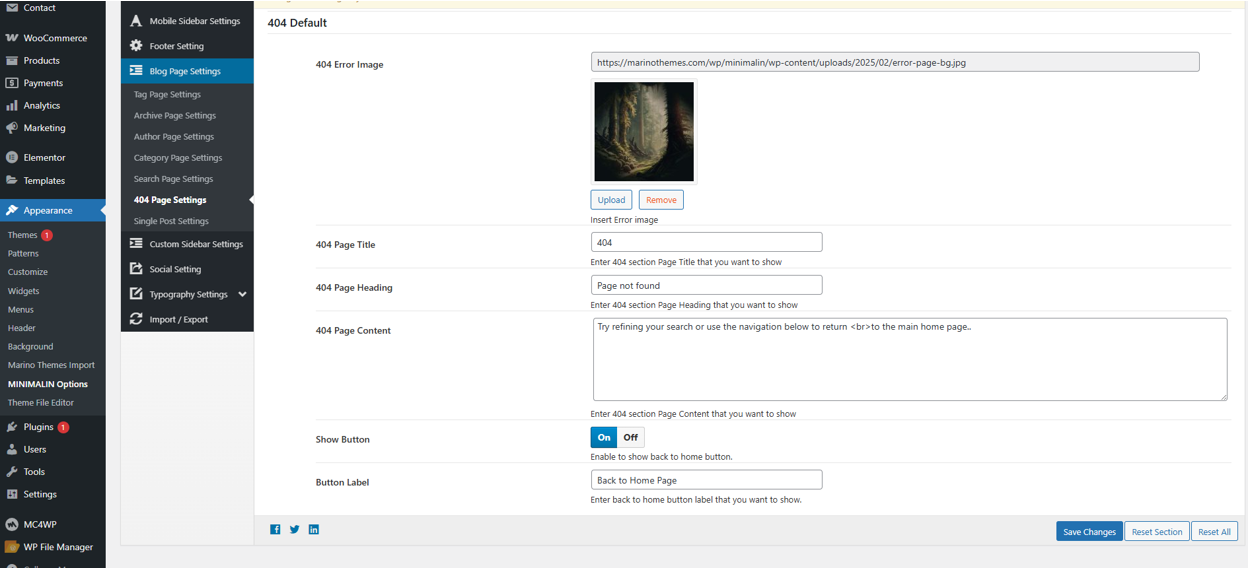
In Page Settings Panel; Control your page structures (layouts), sidebar options and which pages you want to use for search page, archive page, author page and not found page.
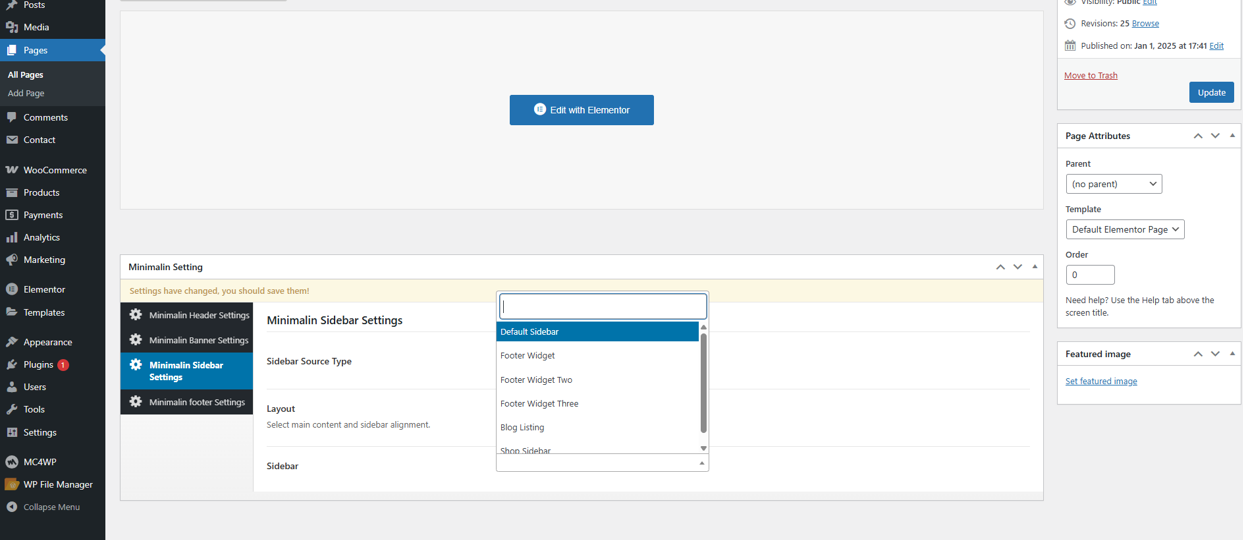
In Sidebar Settings Panel; Add unlimited widgets area to the your theme.
In Font Settings Panel; Control your own typograhy elements for example; body fonts, heading fonts and font sizes.
In Client Settings Panel; Add your client images and external links here.
In 
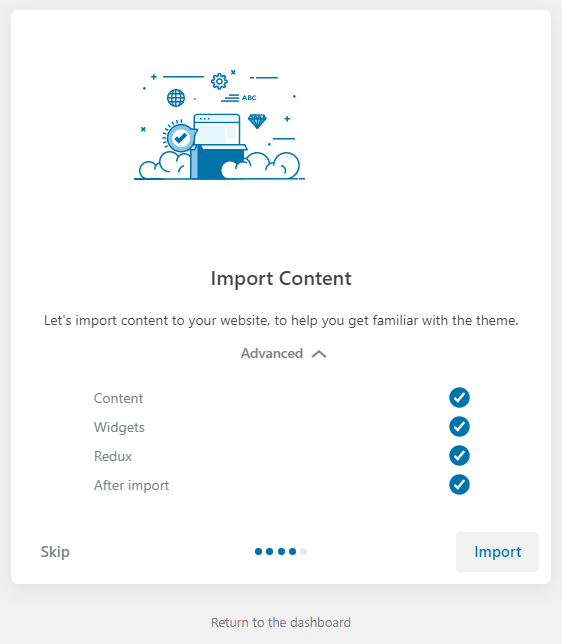
Import and Export Settings Panel; Import export and demo import options here.

Preloader & Scroll Top (#)

  • Dashboard → appearance → Minimalin options → General Settings

Favicon Image Change (#)

  • Dashboard → appearance → Minimalin options → Favicon Settings

Social Icons Settings (#)

  • Dashboard → appearance → Minimalin options → Social Settings
  • The social icons will show all over the site. You can ON/OFF them in header, footers and other places.

Contact Form (#)

  • Dashboard → Contact → Contact Forms → Edit ‘Contact Form’
  • You can add your custom fields like (phone number, email, name, message etc)

Elementor(Content & Styling) Guide of Every Page (#)

  • Open your Page → Simple “Edit with Elementor” your page → Click on Section that you want to edit
  • On left side you can Edit its content (text, images, links etc) in CONTENT tab
  • There’s 2nd tab of STYLE, From here you can change its colors, fonts, sizes and other styling things

Video Tutorials Guide (#)

Files and sources (#)

Fonts Used int the template are google fonts, you can find them on Google Fonts API

Fonts Used are :

Futura
Poppins
Nunito
Work Sans
Playfair Display
Lato

File Used For Animation Effects :

wow.js (in js Folder)
appear.js (in js Folder)
animate.css (in css Folder)

Sliders Used Are :

Slick Carousel
Every Code is properly commented for Editing Ease.


Icons Used are :

Fontawsome.com
Flaticons.com

Image Used are :

Freepik.com
Canva.com

Support (#)

Thanks for purchasing our theme. A 24/7 support system is available.

Feel free to contact us at any time. marino.themes@gmail.com